Accessing and Configuring Custom Reports in the PMS System
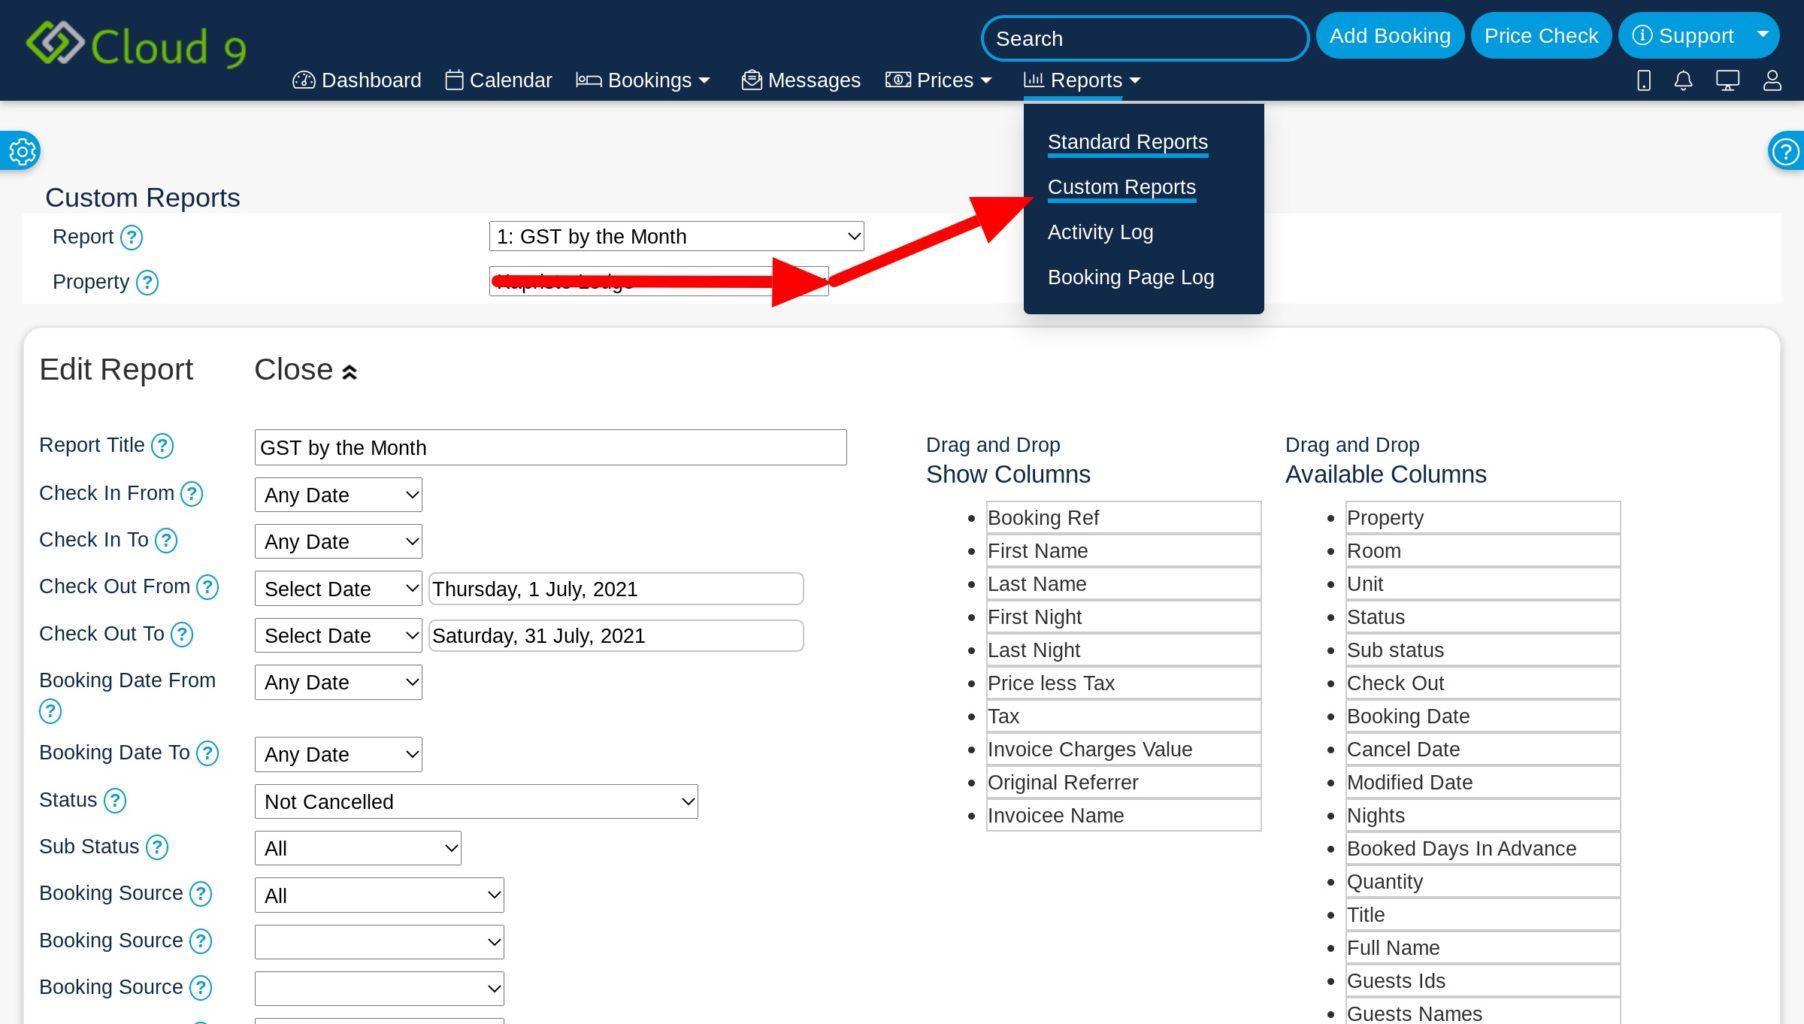
- To to the Custom Reports Tab using the top navigation panel on your system
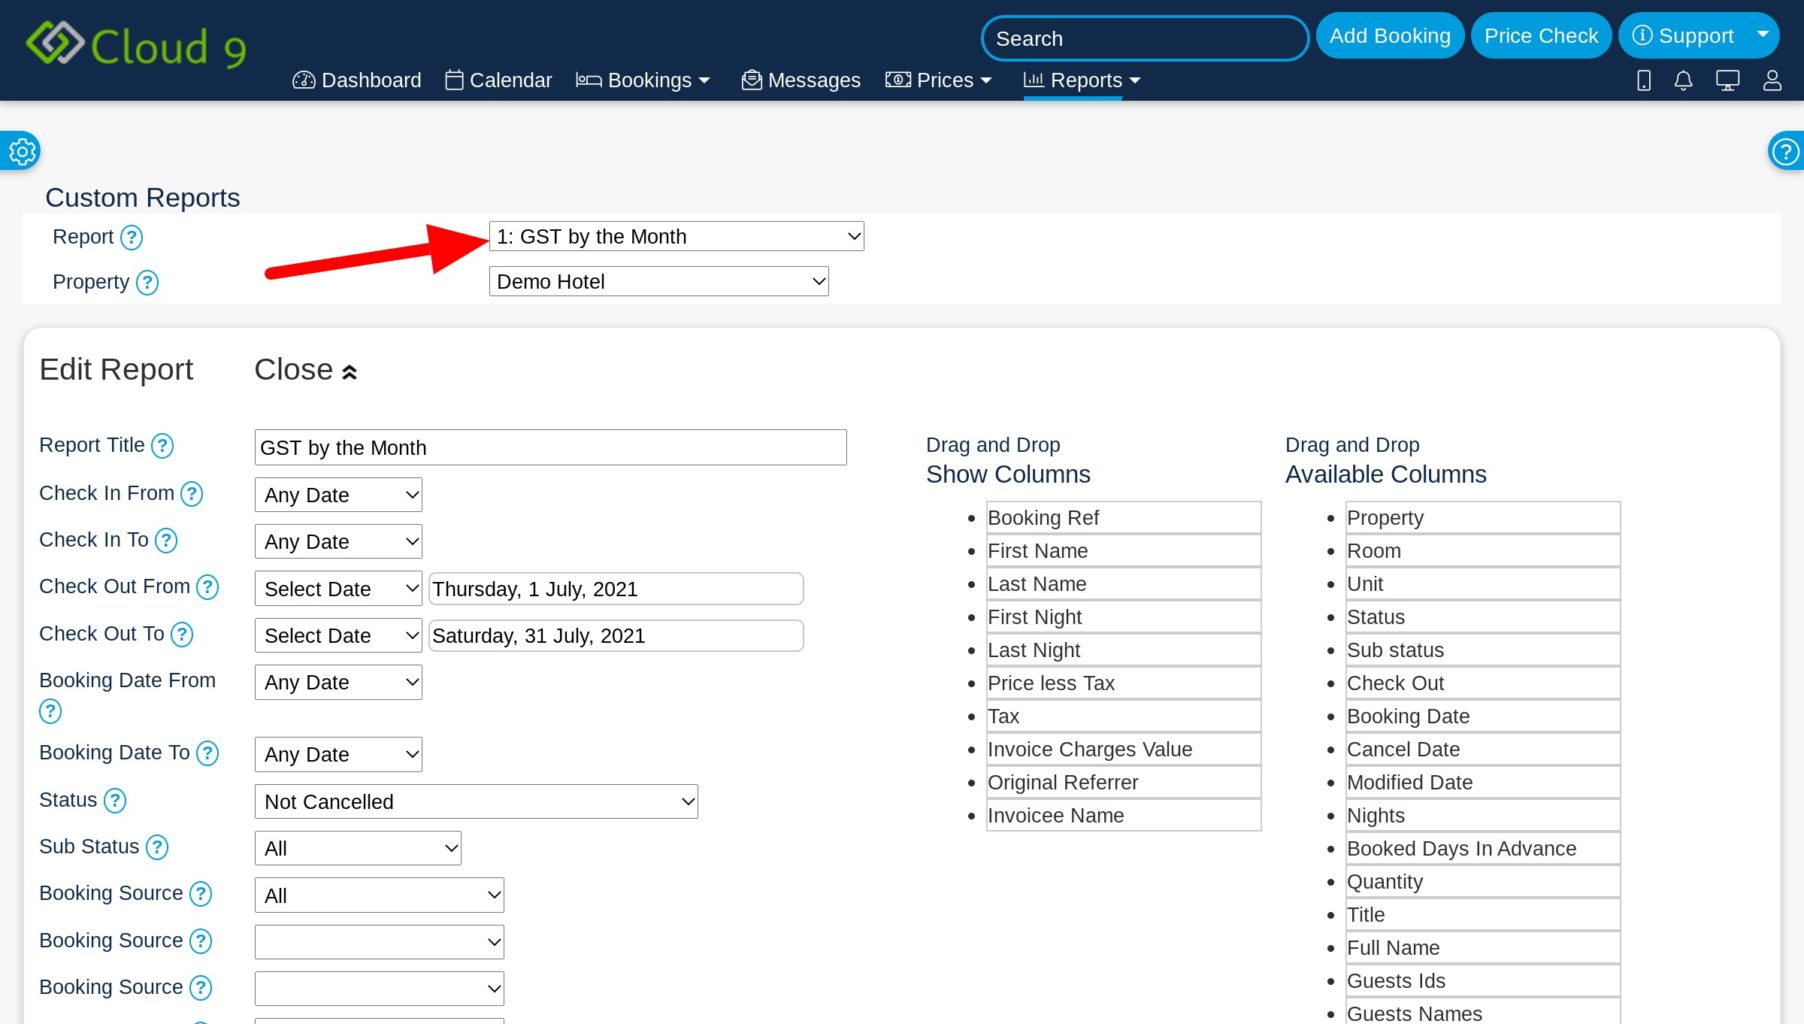
- Choose the custom report you would like to generate
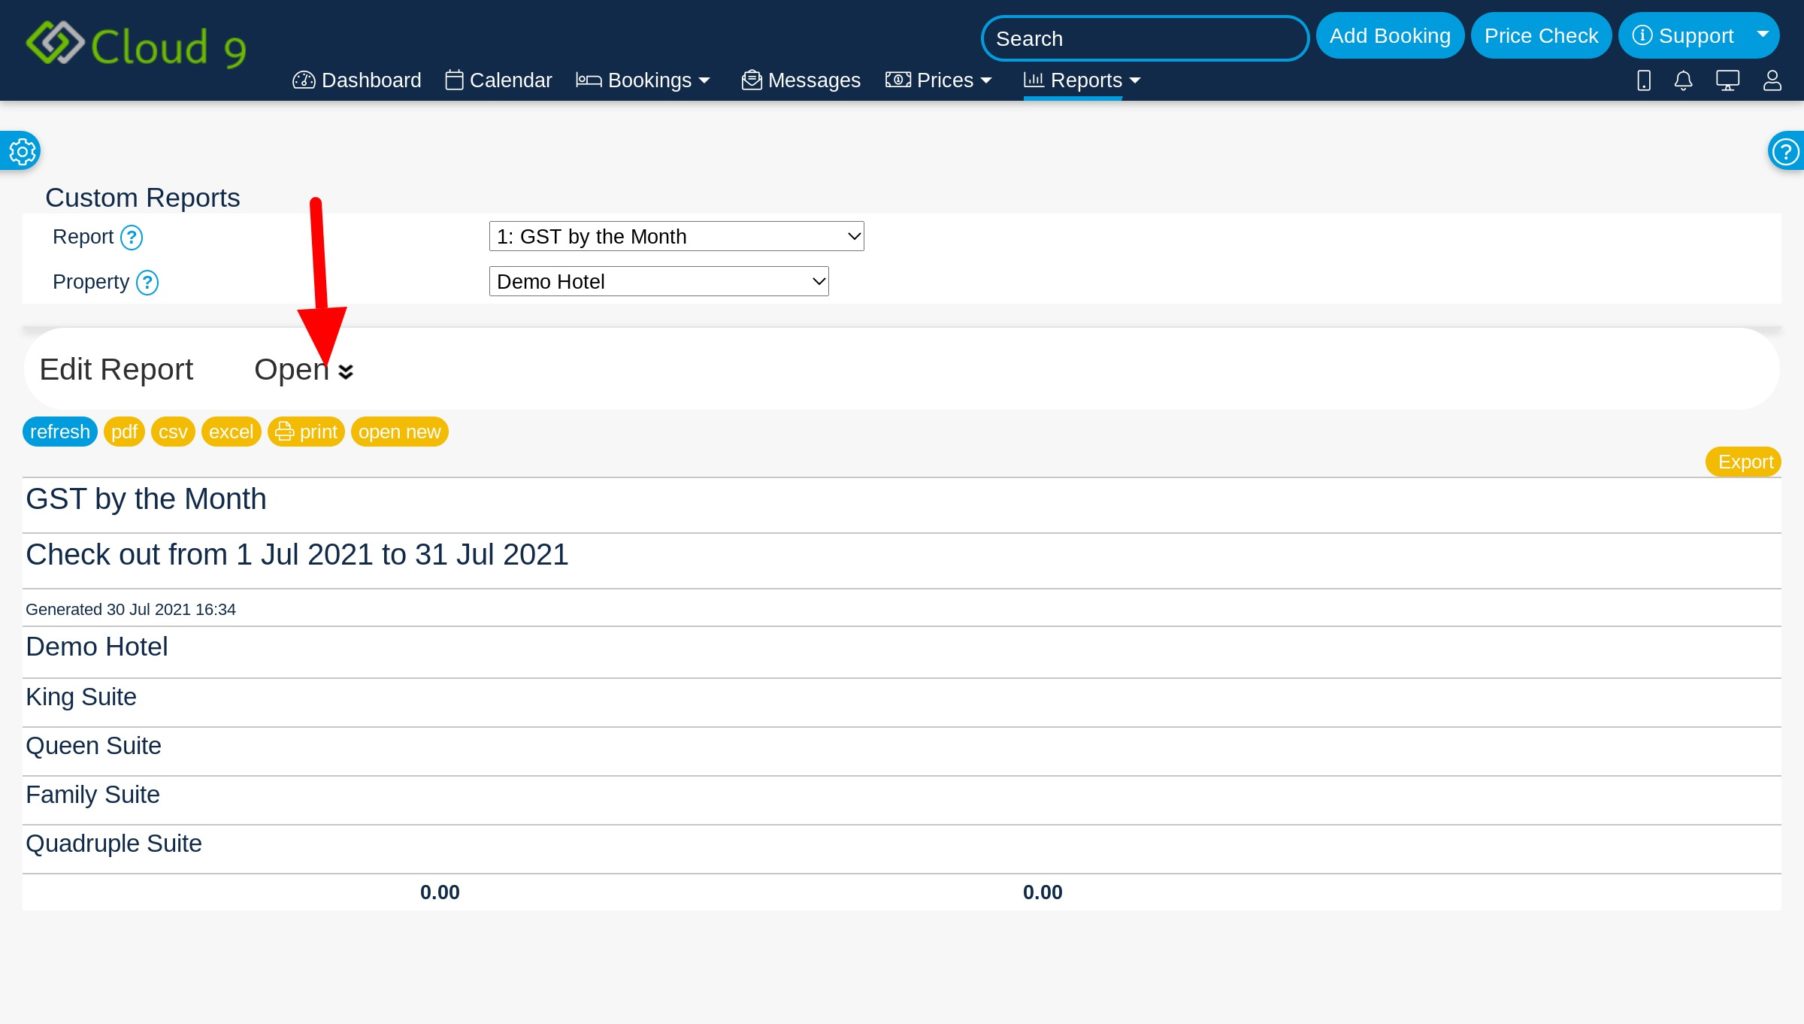
- If the report settings are not already “Open”, Click “Open”
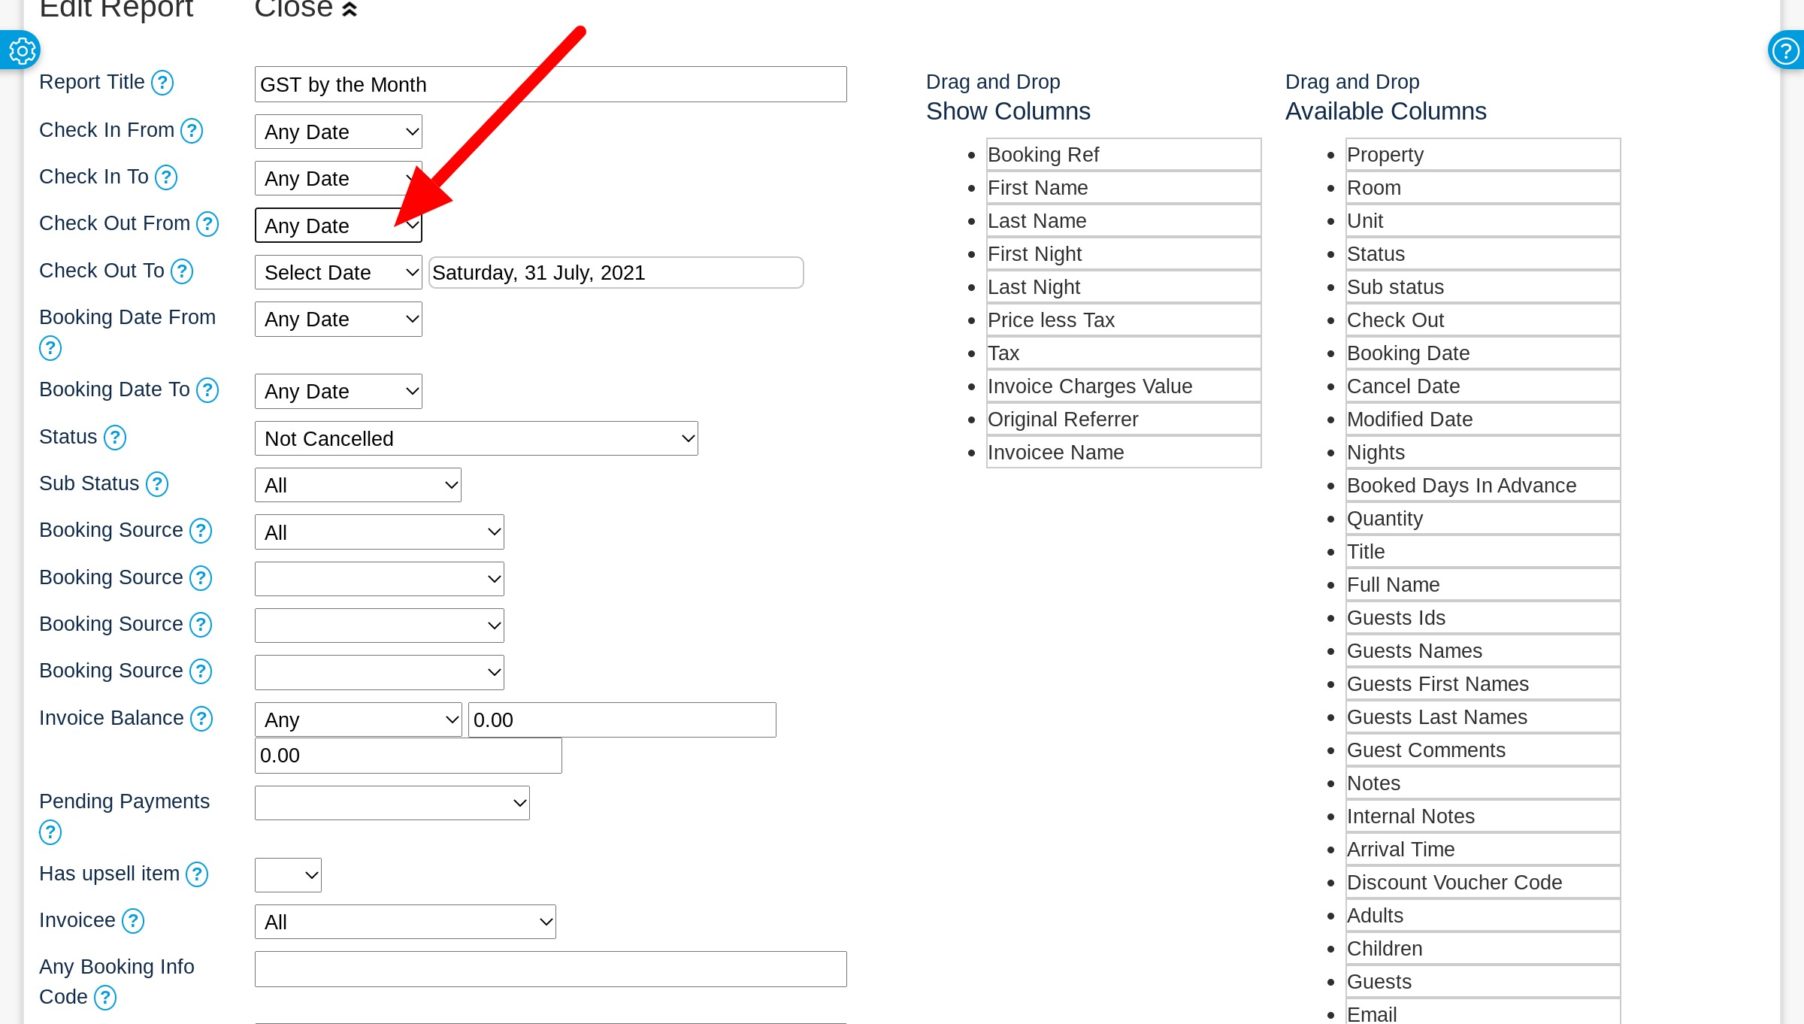
- Once the report editing drop down opens, choose which dates you want to generate the report for. For most financial reports such as the tax report in this example, you will want to choose between check-out dates OR check-in dates. Usually hotels will choose check out dates as that is the time when payment is made or certainly has already been made. In this example, click on the “Check Out From” drop down and select “Choose Date”. You will then see a date selector that you can choose the first day of the period. Then you will repeat the process for the “Check Out To” date. If for example you are looking to generate a report for the month of July, you would choose July 1st as your “Check Out From” date and July 31 as your “Check Out To” date.
- All other date selectors can be left with the “Any Date” selected.
- Note that you can also filter the results so that you get the same report but only for bookings from a specific “Source”. For example you could choose “Booking.com” from the “Source” drop down menu to generate the exact same report but only with bookings that came from booking.com
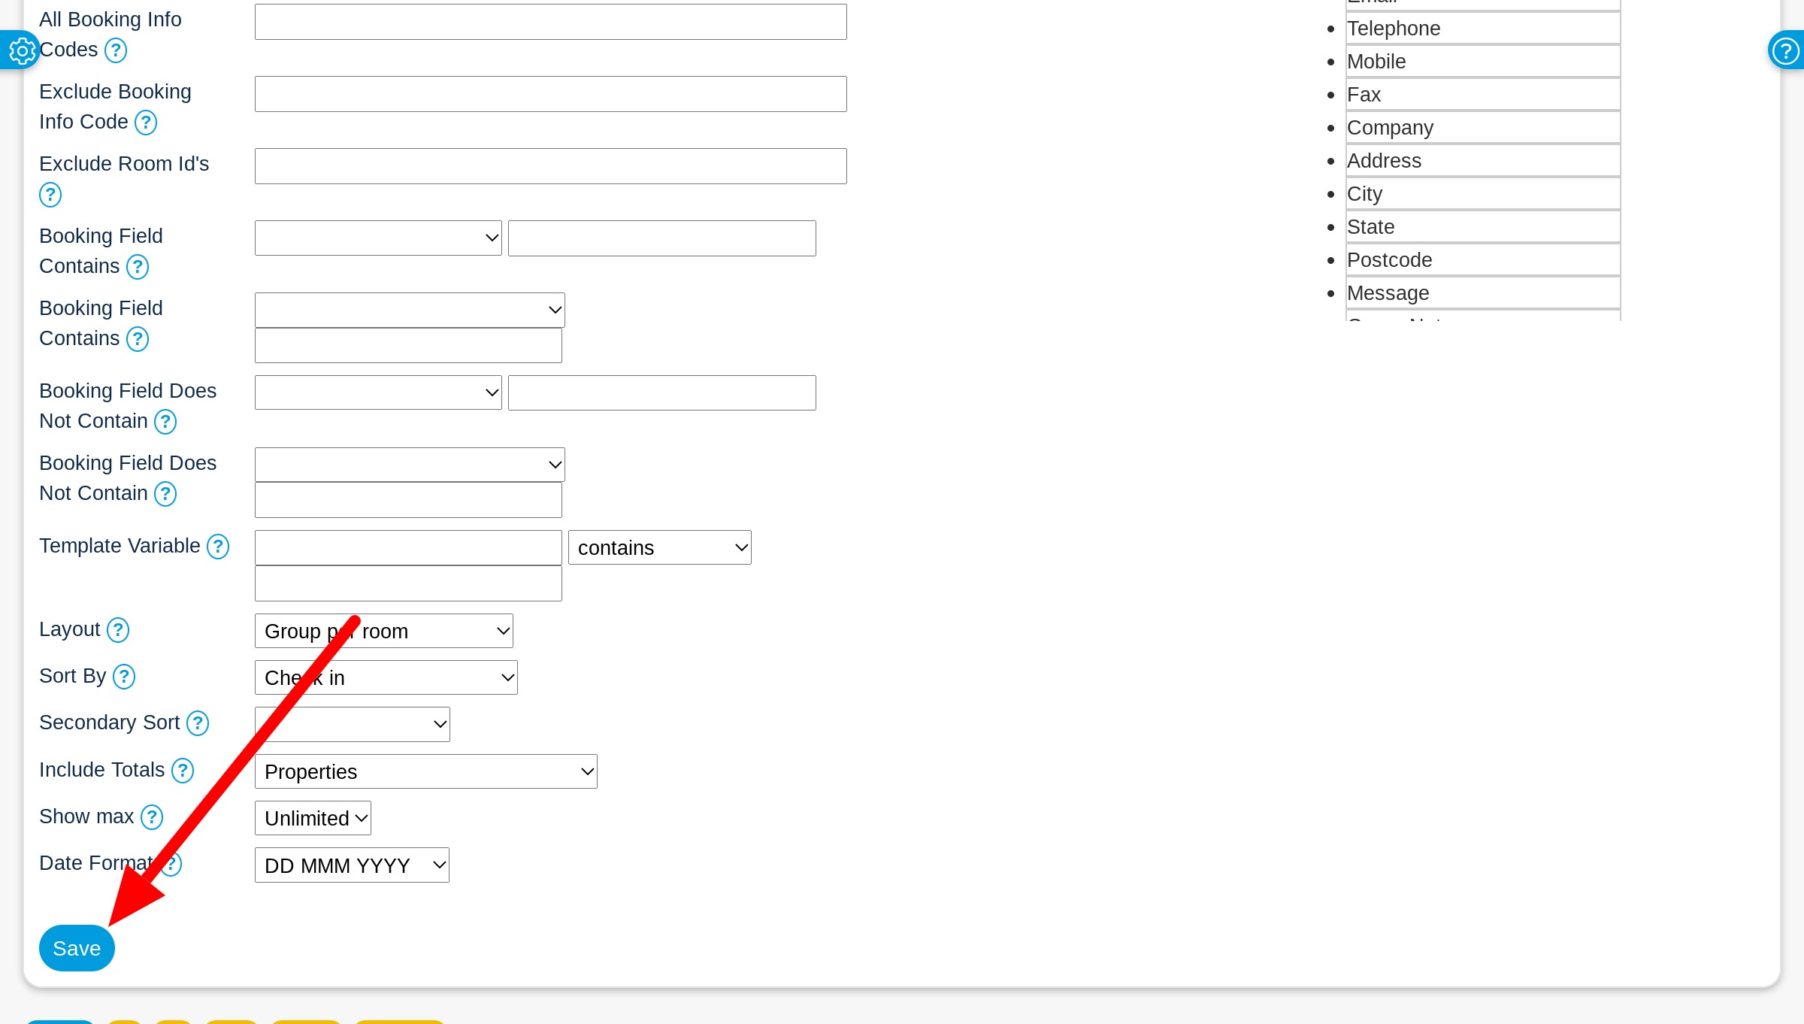
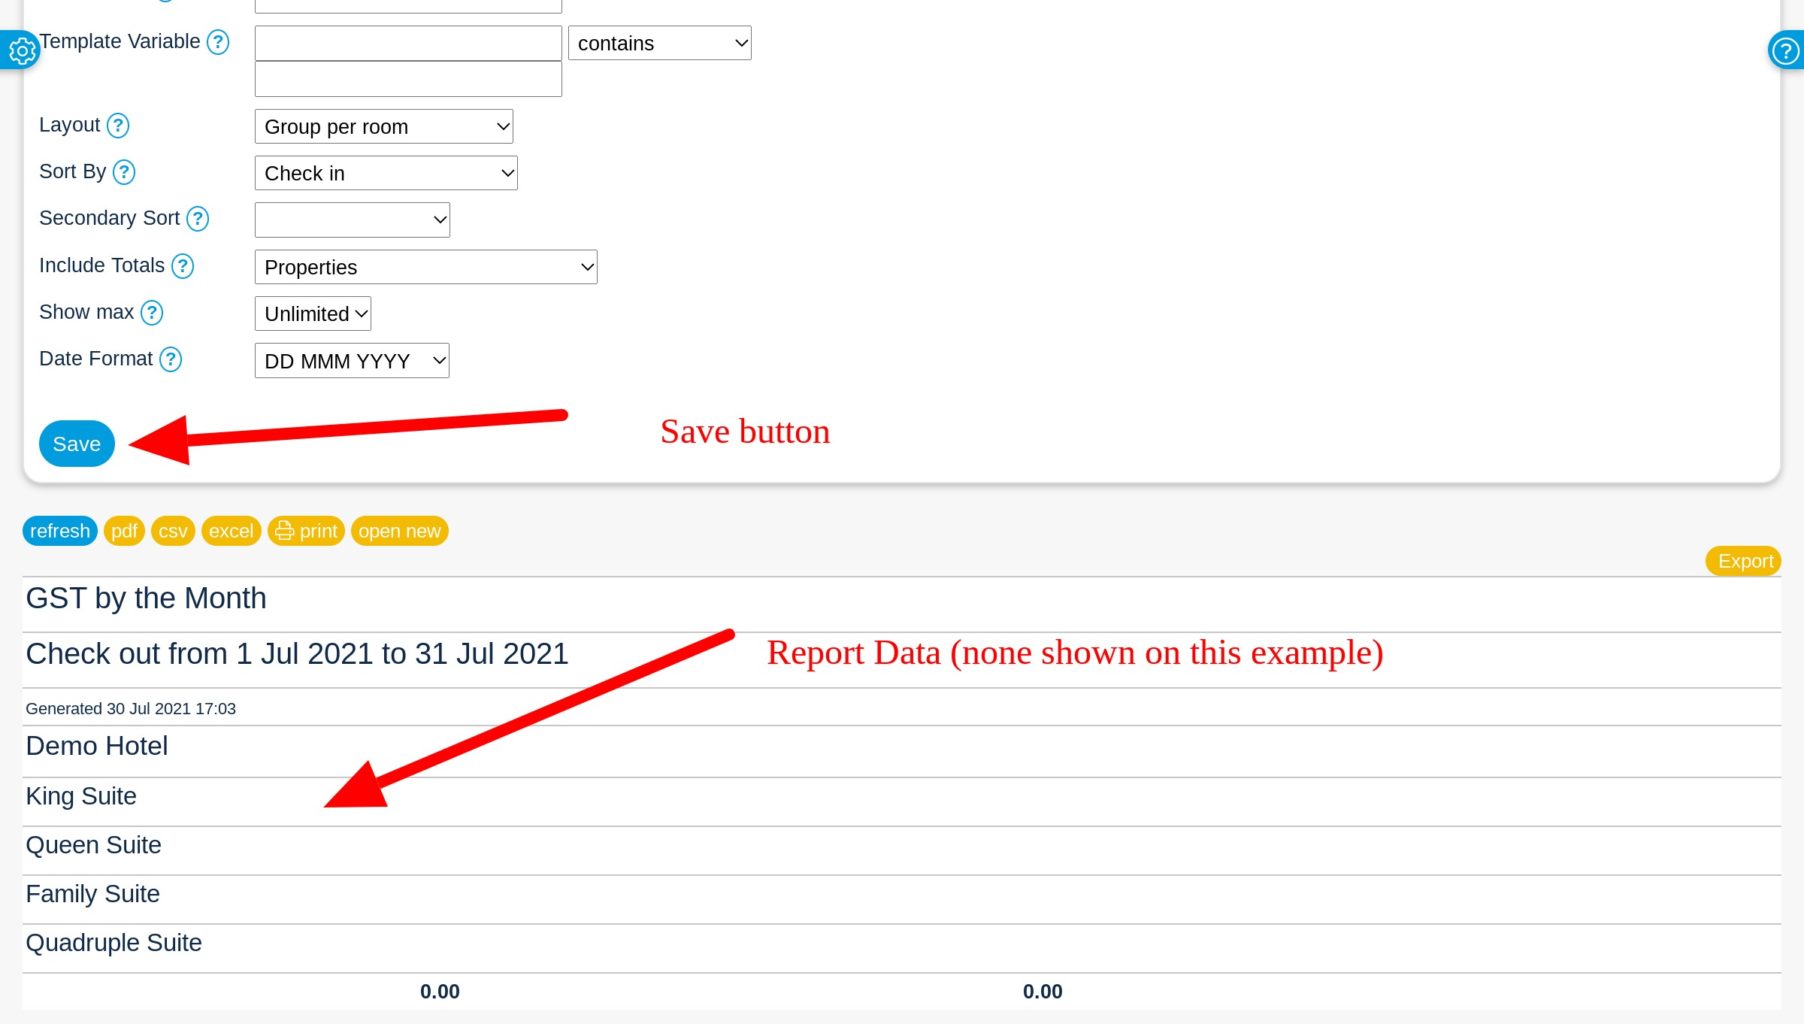
- After you have finished choosing your settings, scroll to the bottom of the settings area and click on the “Save” button.
- After clicking the “Save” button as described above, the page will reload and you will see your report toward the bottom of the page.

